


One of the most important parts of app development is data storage and manipulation, and the same is true for flutter apps. There are many ways to store local data in flutter apps, but in this article, we will learn about just one - hive.
Hive is a fast, lightweight, NoSQL database, for flutter and dart apps. Hive is really useful if you want a simple key-value database, without many relations, and really easy to use.
In this article, we'll go over these steps to build a simple CRUD app with hive:
- Setup Project
- Setup hive
- Type Adapters
- Storing data
- Reading data
- Update and Delete data
Prerequisites
I won't be talking much about provider setup or UIs in this article, so you should already have some idea about adding provider to your project.
Setup Project
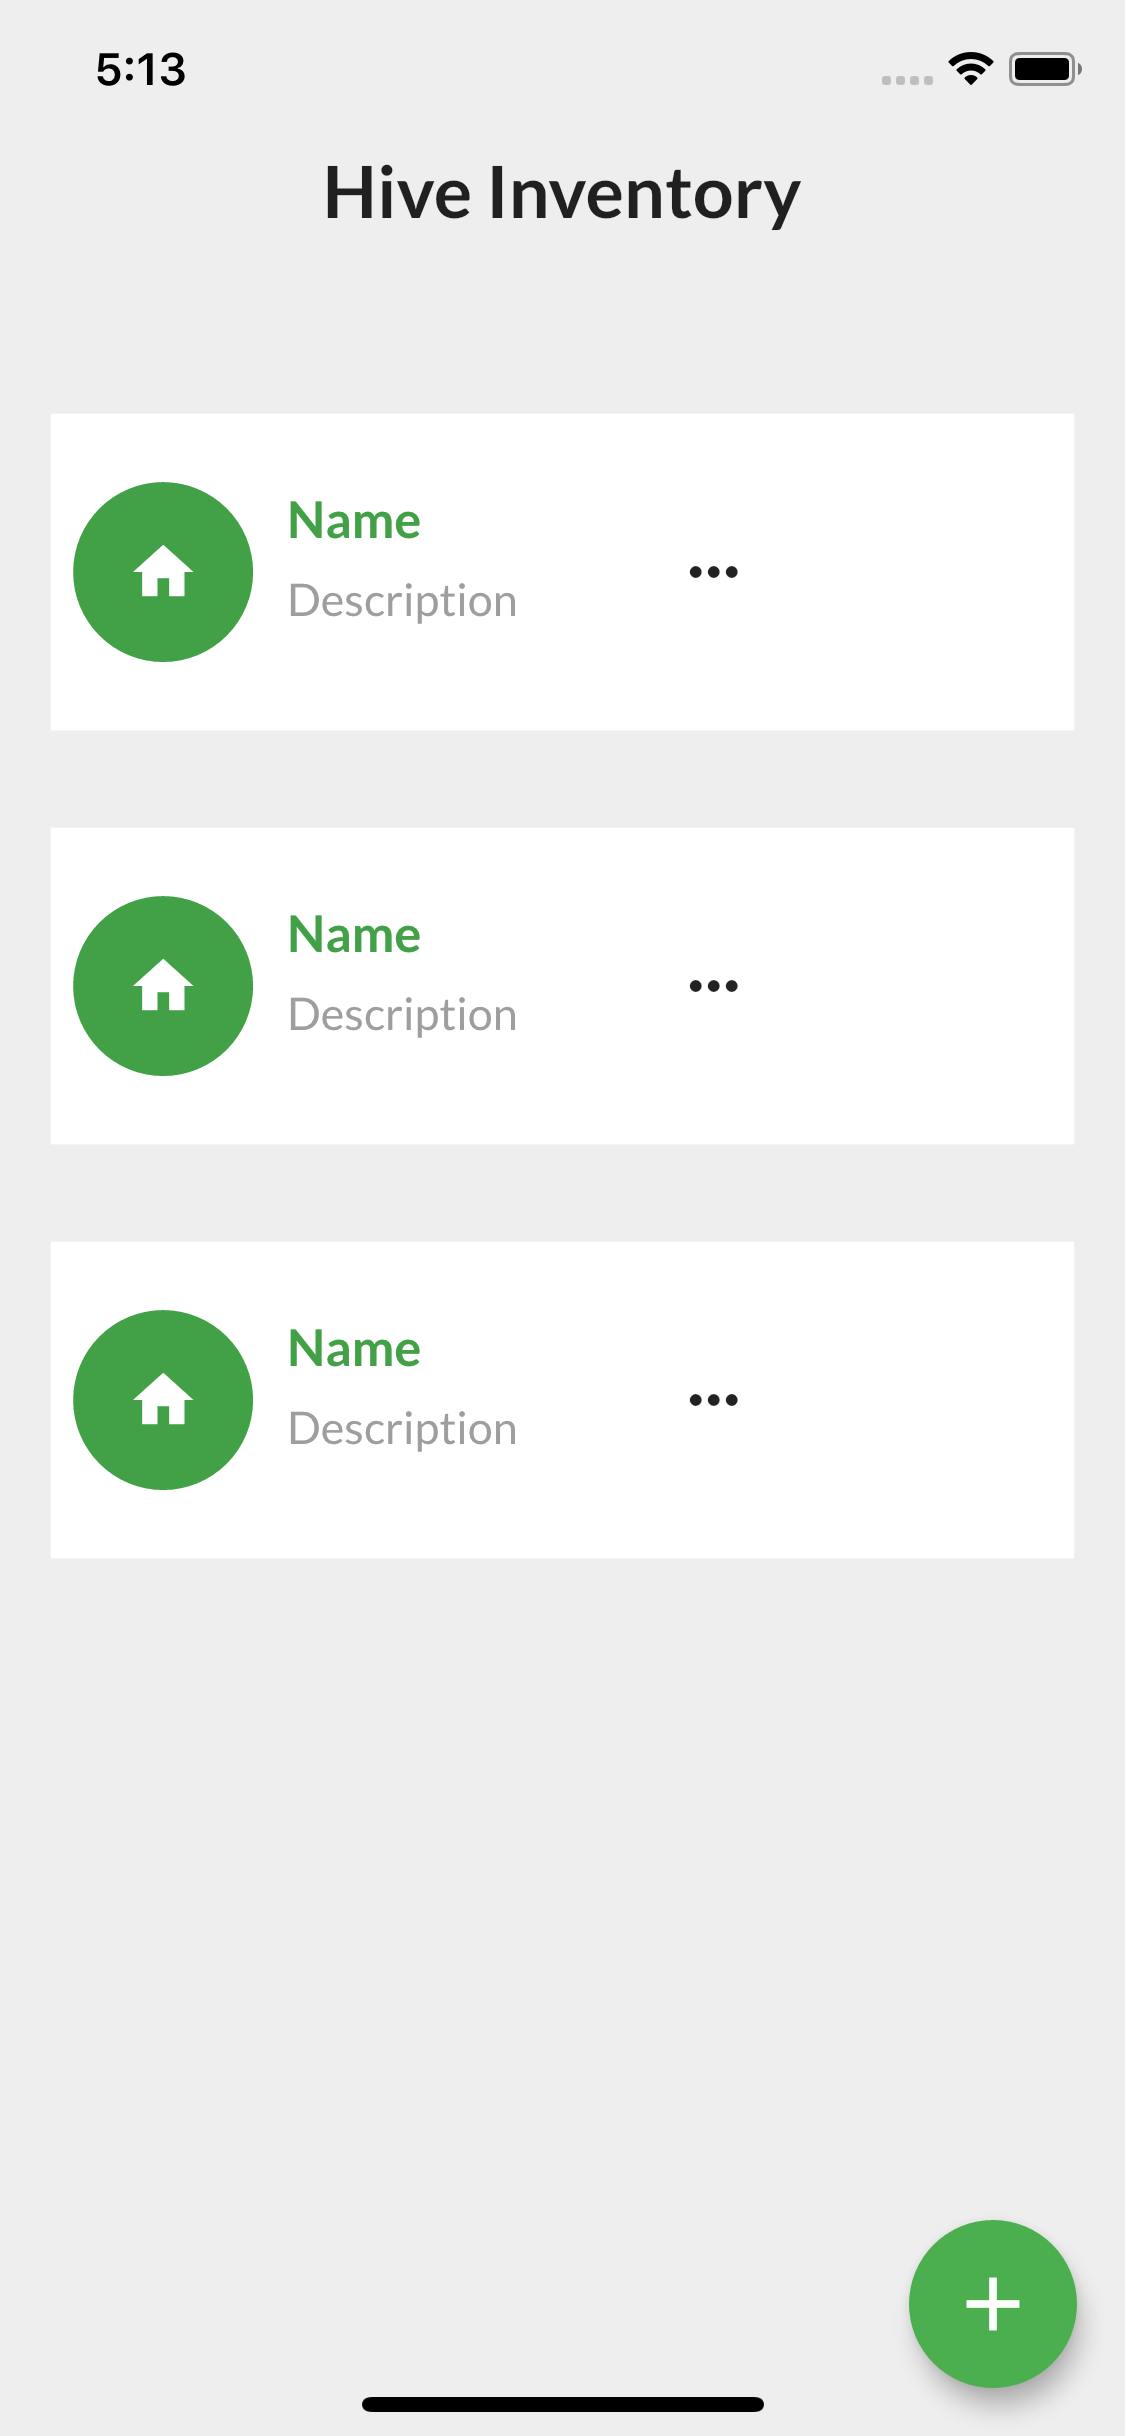
To do the CRUD operations we'll be using a simple inventory app, where you can create inventory items, update and delete them when you want to. For ease, I've set up the project and put it on Github in the starter folder, it contains the UI and the provider setup.
you can clone it and follow from there.
Add Dependencies
After creating your project (or cloning mine), as usual, you need to add some dependencies in order to continue building the app. the dependencies we'll be adding are:
- Hive
- Provider - for state management
- Path Provider - to get the device directory
hive: ^1.4.1+1
provider: ^4.3.1
path_provider: ^1.6.5
we also need to add hive_generator and build_runner to the dev dependencies:
hive_generator: ^0.5.0
Hive generator helps us generate type adapters, you'll see why later on in the article.
along with the other dependencies already in the starter project.
Setup Hive
Before you can use the hive, you need to initialize it. This is done in the main() function of your app before runApp().
import 'package:hive/hive.dart';
import 'package:path_provider/path_provider.dart' as pathProvider;

Future<void> main() async {
  Directory directory = await pathProvider.getApplicationDocumentsDirectory();
  Hive.init(directory.path);

  runApp(MyApp());
}
- First, import
path_provider, because Hive needs a home directory as it is initialized. - Next, get the directory from the
path_provider. - Finally, initialize hive with the path of the directory.
Hive Boxes
Hive stores its data in boxes, containing key-value pairs. I like to see boxes as a folder with files listed and sorted by a numbering system, or as normal maps in dart. With hive, before you can read/write data a box must be opened. boxes can be opened with await Hive.openBox('name'), and you can get an instance of an opened box with Hive.box('name'), where 'name' is the name of the box (kind of saying the DB name).
you can call
Hive.openBox('name')even if you already have the box opened somewhere else, sometimes it may be smart to do this.
Type Adapters
Hive allows you to store most standard types - String, int, Map, List, DateTime, but most times you want to have a model class for your data because this makes development much easier and faster. In order to use these model types, you need to register TypeAdapters which helps you encode/decode your object to binary form on disk. You can write your Type Adapters manually, but we'll just be generating ours with the hive_generator and build_runner packages we added to our dev dependencies earlier.
Somewhere in your lib/ folder, you can create your model file (mine is called inventory_model.dart).
Now let's create the class and add the right annotations so the TypeAdapters can be generated:
import 'package:hive/hive.dart';

part 'inventory_model.g.dart';

@HiveType()
class Inventory {
  @HiveField(0)
  final String name;

  @HiveField(1)
  final String description;

  Inventory({this.name, this.description});
}
- First import hive
- Add
'inventory_model.g.dart'as a part (this is where the typeadapter is generated) - Annotate the model class with
@HiveType(), so the generator knows this should be a TypeAdapter. - Annotate each field you want to save with
@HiveField(index), the index is an int and each index should appear once and you shouldn't change it after registering them.
Run the generator by typing the following command in the terminal:
$ flutter packages pub run build_runner build
After generating the type adapters, you may get an error about some missing implementations: Missing concrete implementation of 'getter TypeAdapter.typeId'. you can fix this by overriding the getter - typeId and returning an integer (also unique like HiveField) I use 0 in my case because this is my first type adapter.
@override
 int get typeId => 0;
Finally, register the type adapter in your main function, just add it beneath your hive initialization.
Hive.registerAdapter(InventoryAdapter());
runApp(MyApp());
Storing Data
To store data we'll create a method in our ChangeNotifier class:
addItem(Inventory item) async {
    var box = await Hive.openBox<Inventory>('inventory');

    box.add(item);

    notifyListeners();
  }
Here, we open the box and then use the add() method to append the data to our box. you can also use the put() method, the difference is with put() you have to specify the key for each value - box.put('key', item), but add() just gives each value an index and auto increments it. There's also box.putAll({'key': value}) which takes in a map, and box.addAll( ) which takes in a list, they are useful for adding multiple values at once.
To use this in the UI:
just replace the RaisedButton to that in the gist above.
Reading data
There are different ways to read data from your boxes:
box.get('key)- get the value from a key.box.getAt(index)- get the value from an index created withbox.add().box.values- this returns an iterable containing all the items in the box.
get the values by adding this to the change notifier class:
List _inventoryList = <Inventory>[];
List get inventoryList => _inventoryList;

getItem() async {
    final box = await Hive.openBox<Inventory>('inventory');

    _inventoryList = box.values.toList();

    notifyListeners();
  }
You should probably understand the code by now.
Add this to the top of the build() method:
context.watch<HomeModel>().getItem();
Replace the ListView.builder() in the UI with:
Updating Items
To update, there's a popup menu button on each item card.
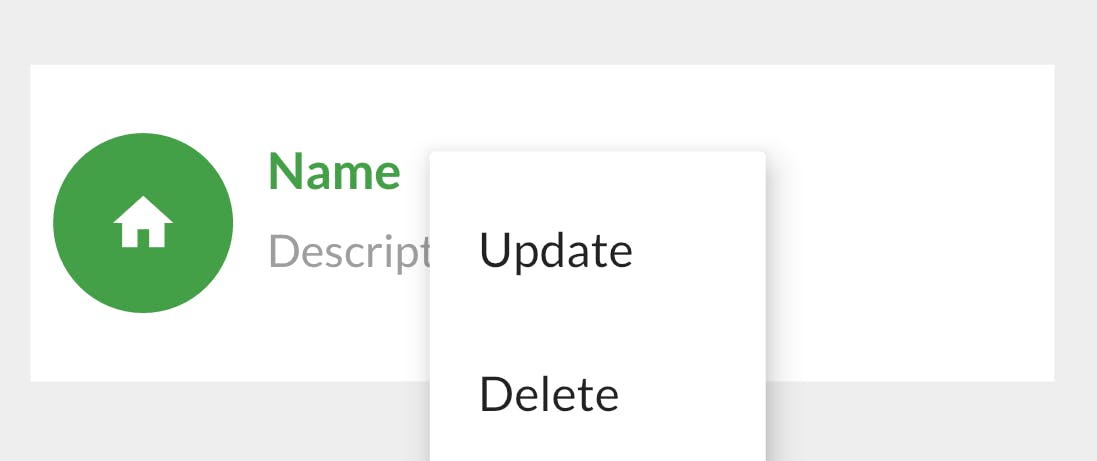
To update you can use box.put('key', newValue) to update that value, or box.putAt(index, item) which works like getAt().
In our change notifier class we add:
updateItem(int index, Inventory inventory) {
    final box = Hive.box<Inventory>('inventory');

    box.putAt(index, inventory);

    notifyListeners();
  }
Delete Items
Deleting items is similar to getting:
box.delete('key)- get the value from a key.box.deleteAt(index)- get the value from an index created withbox.add().box.deleteAll(keys)- accepts an iterable of keys, and deletes all the keys given.
There's also a deleteFromDisk() method - this deletes the file where the box was created on the device
deleteItem(int index) {
    final box = Hive.box<Inventory>(_inventoryBox);

    box.deleteAt(index);

    getInventory();

    notifyListeners();
  }
Lazy Boxes
Lazy Boxes - Lazy boxes are useful for large apps or boxes with a lot of data because they don't load all the data from disk at once. to use a lazy box:
final lazyBox = await Hive.openLazyBox('name');

var value = await lazyBox.get('key');
note the await keyword on get().
Remember, though Hive is really cool and useful, I feel you should use it if there are few or no relations in your data. That's all for this article, I hope it helps! Need help with something? You can reach me on twitter @txe_bert.